
How to start with BUSUP
Users Guide
Here's all you need to know to get started:
Whats is BUSUP?
We digitise transport services to make them more efficient, transparent, sustainable and flexible, adapting them to the ever-changing needs of the employees. We offer a complete service connecting needs and desires with the best way to get around.
Everything you need to know in 4 easy steps:
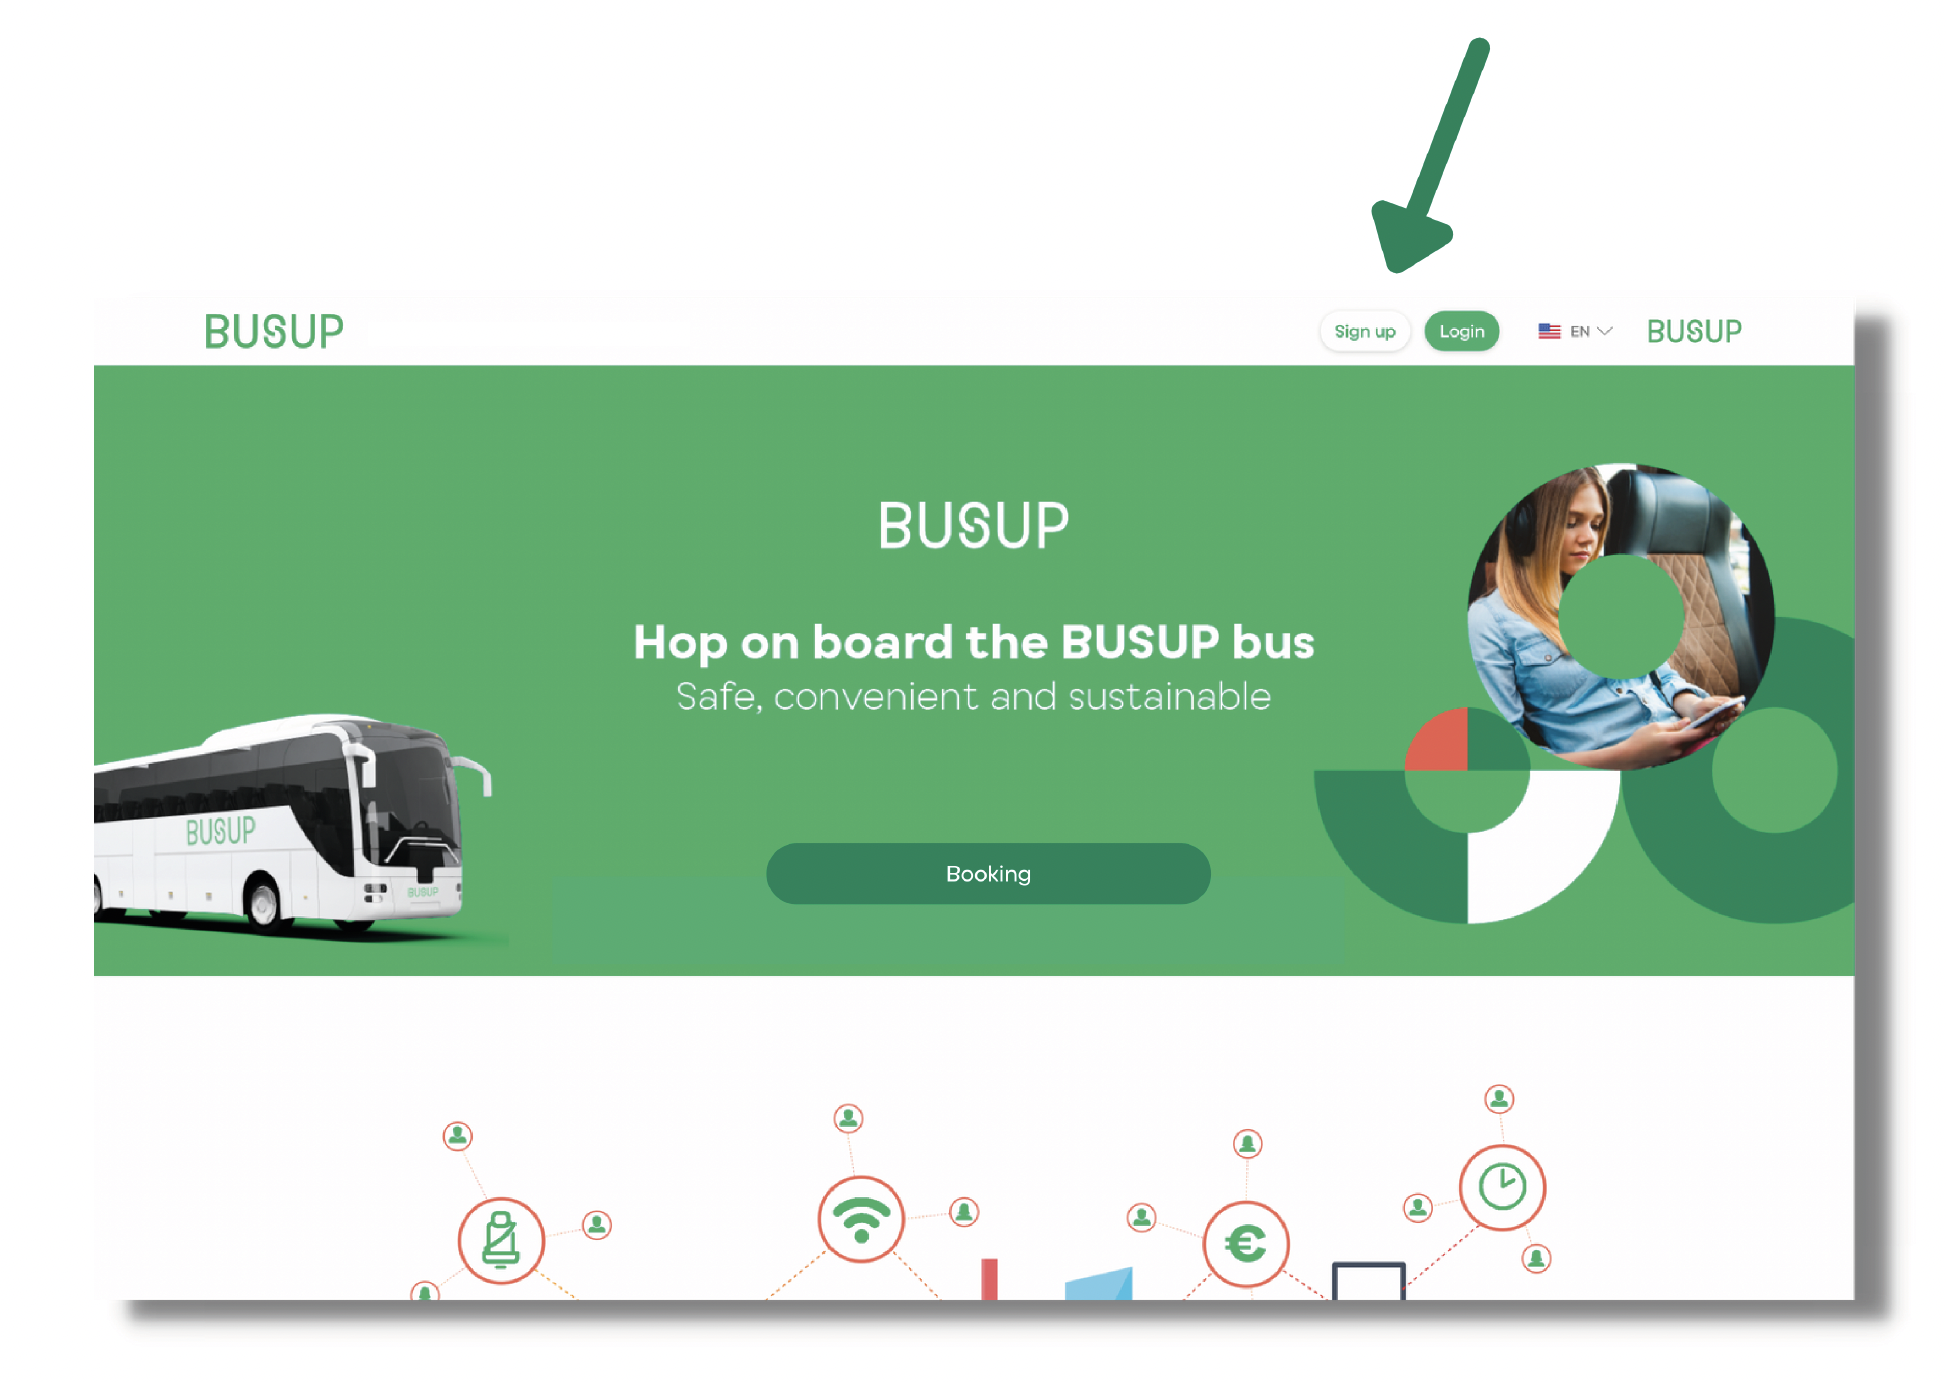
1. On the top right corner of the page you'll find a "Register" button
We suggest using Google Chrome ou o Firefox
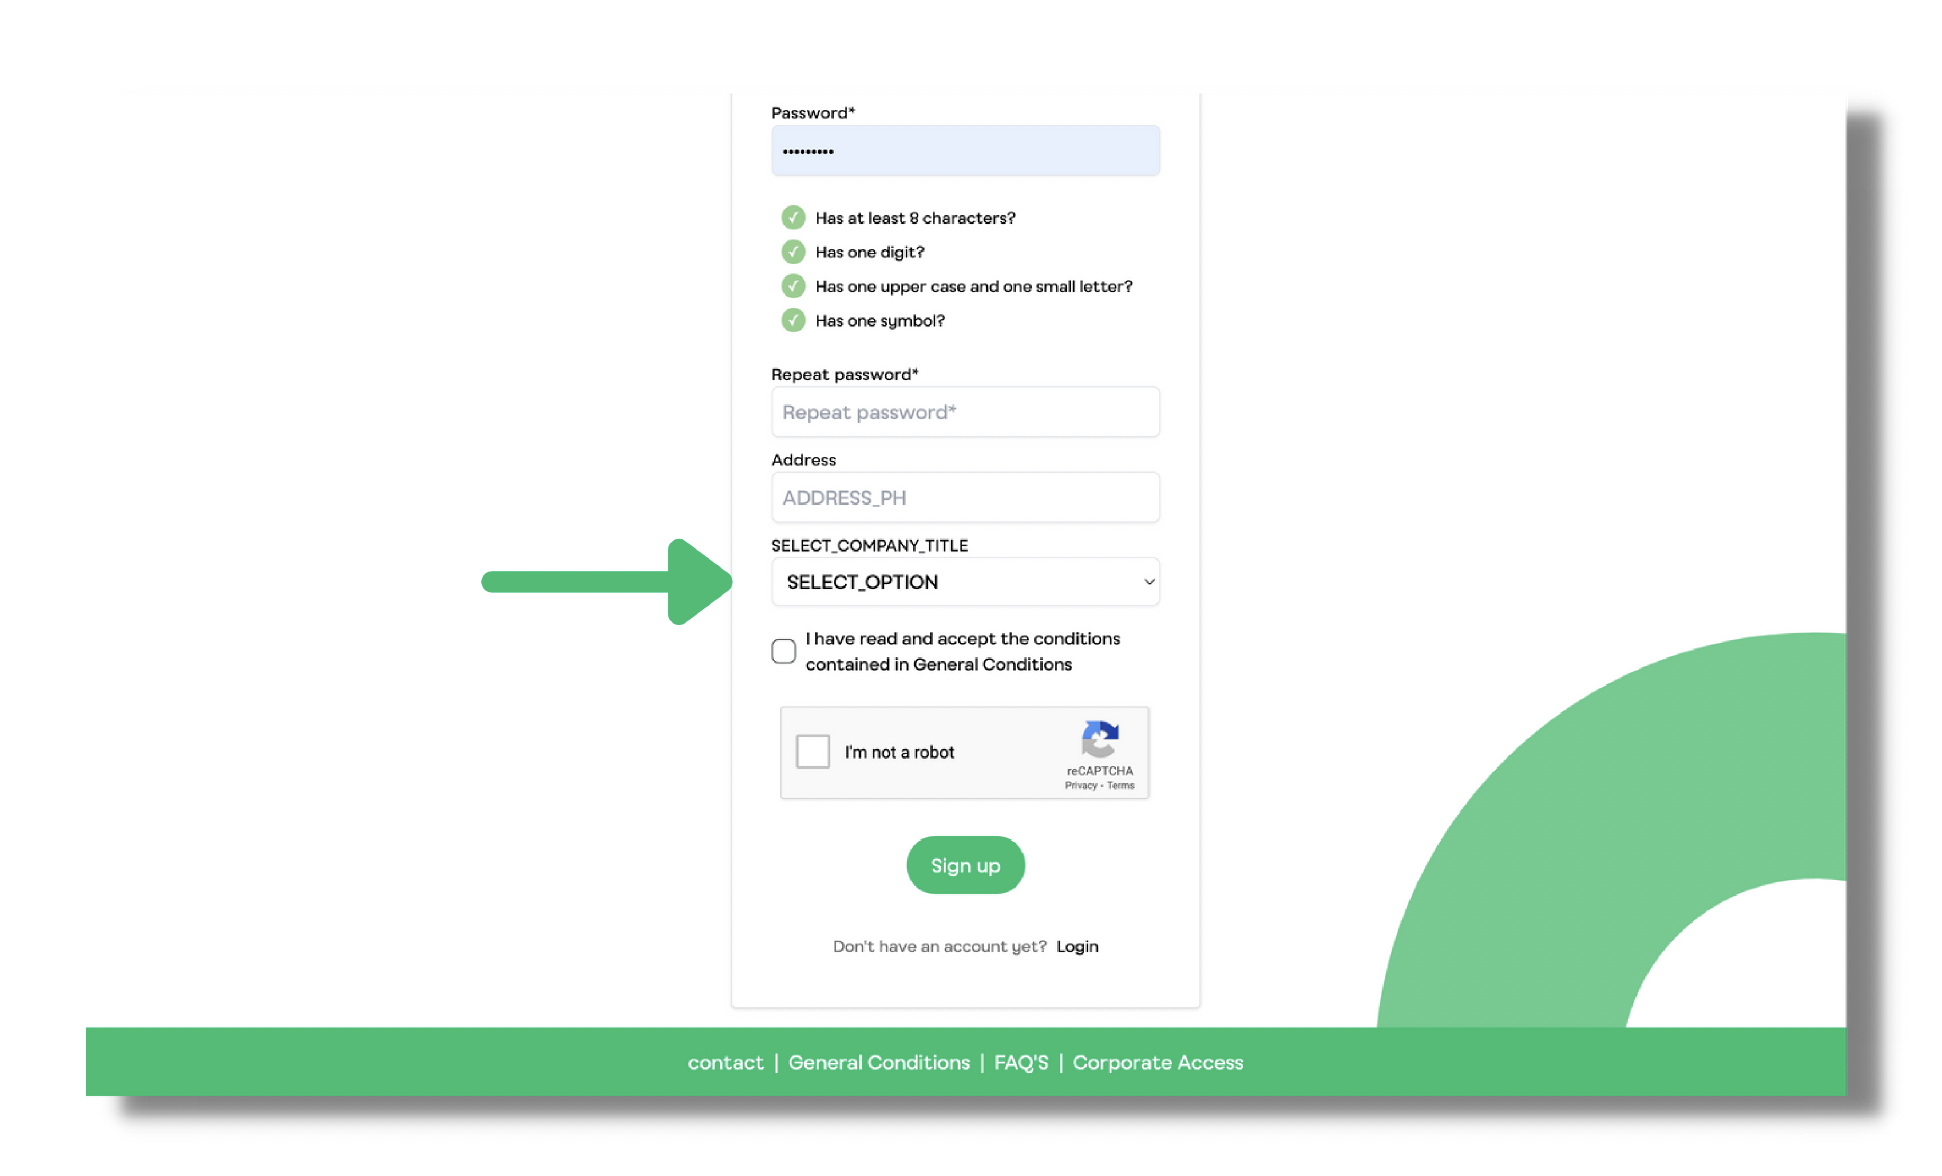
2. Fill the register form.
All the field with (*) are obligatory.
If your company finances your trips, you will have to use your company email, select the correct company and insert you companies number for them to accept you.
Lorem 2 ipsum dolor sit amet, consectetur adipiscing elit. Duis accumsan velit sit amet sagittis malesuada.
Lorem 3 ipsum sit amet sagittis adipiscing elit. Duis accumsan velit malesuada dolor sit amet, ipsum dolor sit amet, consectetur adipiscing elit. Duis accumsan velit sit amet sagittis malesuada.
Important:
To register, please access the booking platform website and follow the step bellow.
In the top right corner of the page, you'll find the "Register" button.
We recommend using Google Chrome or Firefox for the best experience.

Once you've successfully registered, please enter the email address you used for registration along with your password;
Then click "Login"


By clicking on the “Available Routes” tab, you will be able to see more details about the your journey on the right of your screen.
Select your route (1), followed by your stops (2)*, and the day (3) you wish to start.
To discover more about this journey, simply click on "See Details".
You'll be able to view the route on the map and access comprehensive details about the stops and the schedule of the selected journey.


Select the “Annual Subscription” option and choose your start date.
On the right, you'll see the full itinerary you're selecting.
Accept BUSUP's general terms and the privacy policy, ensure your booking details are accurate, and then click "Continue".

Go to your name on the top right part of the screen and click "My bookings"


Select the “Calendar” icon on the right side of the table.
Then click "Edit" and select the days that you want to cancel.
Don't forget to save the changes


Done! All the days you won't make it are now cancelled.
Upon receiving the confirmation email with your ticket, remember to print the QR Code and give it to your child.

Enhance your experience! Download the BUSUP App and log in.
You can easily use your ticket and know the real location of your bus on the route.
Open the BUSUP App
Sign in using your email and password.


Click on "Bookings" to see your journeys and select the one you want to use.
View the details of your route by clicking on "Routes" at bottom:
- Timetables and stops
- Bus information


Press the "Check-in" icon at bottom of the screen
Then click on the QR code at the top of the screen
Check-in QR code mode:
Displays the QR code to the driver for them to scan.

Thanks for travelling with us
See you soon!
Do you need help?
If you have any doubts or questions, don't hesitate to reach out to us via email at info@busup.com
